
Product Overview
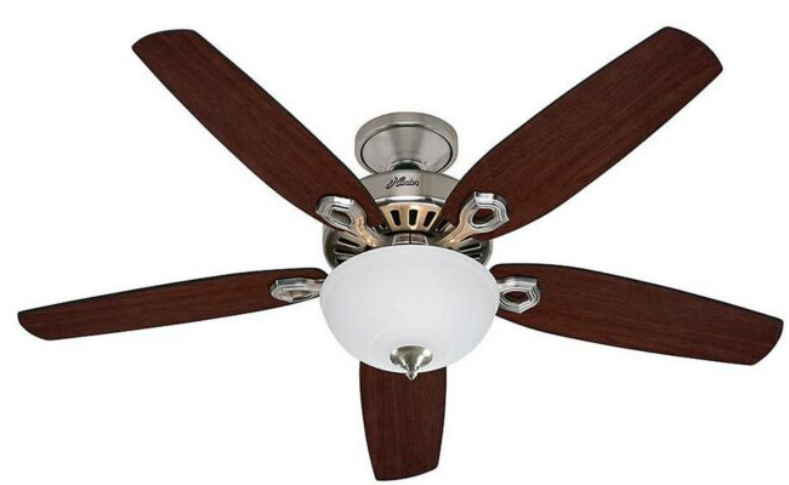
The Hunter Builder Deluxe is a traditional 52‑inch indoor ceiling fan with five reversible blades and a pull‑chain control. It’s designed for large rooms like living rooms, bedrooms, or kitchens. The fan uses a WhisperWind motor that delivers powerful airflow quietly. The Builder Deluxe can be installed with or without a light kit (light kit sold separately or included in some bundles). It’s available in several finishes: Brushed Nickel, Bronze, and White.
Key Features
- 52‑Inch Blade Span: Ideal for rooms up to 20 ft × 20 ft (about 37 m²). The five blades are reversible with two different finishes on each side, so you can choose the look that matches your room.
- WhisperWind Motor: The 3‑speed AC motor is engineered for quiet, efficient operation. It can be reversed for summer or winter use.
- Pull‑Chain Control: Three separate pull chains control the fan speed (off/high/medium/low), the light (on/off, if a light kit is installed), and the direction (reversing switch on the motor housing). No remote control is included, but you can add a Hunter universal remote (sold separately).
- Reversible Airflow: A small slide switch on the motor housing changes the direction of the blades. Counter‑clockwise (summer mode) pushes air down for a cooling breeze. Clockwise (winter mode) pulls air up to circulate warm air trapped near the ceiling.
- Dual‑Mount Installation: The fan can be mounted flush against a ceiling (low‑profile mount, ideal for rooms with ceilings under 8 feet) or on a downrod (included 3‑inch and 2‑inch rods, for higher or angled ceilings). Angled mounting is supported up to 34 degrees.
- Light Kit Compatible: The fan includes a pre‑installed wiring harness and a centre cover plate for a light kit. You can install a Hunter light kit (sold separately) directly onto the fan without any special tools.
How to Use
What’s in the Box
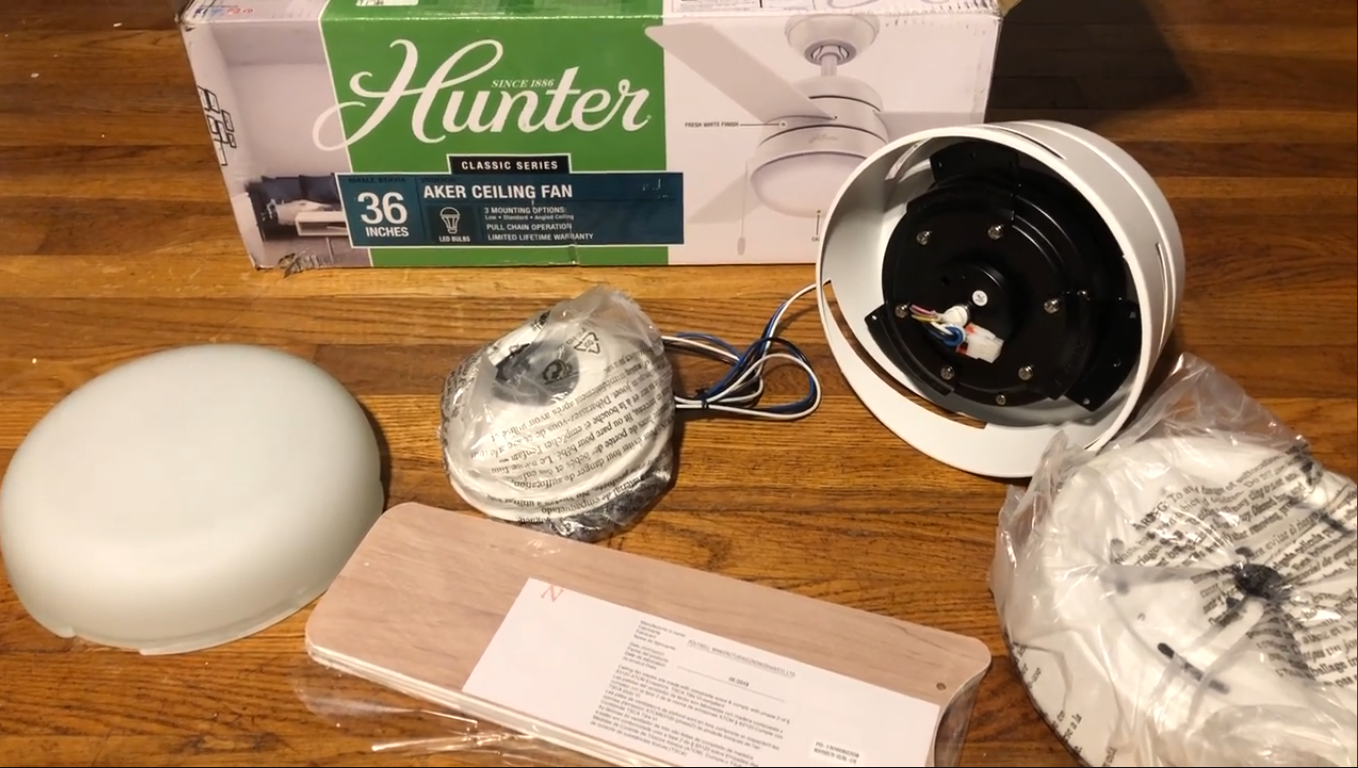
- Fan motor assembly with pre‑installed pull chains
- Five reversible blades (two finish options per blade)
- Mounting bracket and hardware (screws, washers, wire nuts)
- 3‑inch and 2‑inch downrods (for standard or lower‑profile mounting)
- Pull chain extensions (for longer reach)
- Balance kit (for correcting wobble)
- Installation manual and warranty card
No light kit is included unless specified on the box. The fan is compatible with most Hunter light kits.
Installation (Overview)
Installation should be performed by a qualified electrician or a competent DIYer. The following is a summary; always follow the full printed manual.
- Turn off the power at the circuit breaker. The ceiling outlet box must be UL‑listed and marked “acceptable for fan support” (it must support at least 35 lbs/15.9 kg).
- Install the mounting bracket onto the outlet box with the provided screws.
- Assemble the downrod (if using) by threading the wires through it, inserting the clevis pin, and securing the cotter pin. Attach the downrod to the motor assembly.
- Hang the fan by lifting the downrod ball into the bracket. Connect the wiring: green/bare ground to ground, white to white (neutral), black to black (fan motor), and if a light kit is used, blue to the black wire from the light kit.
- Attach the canopy and trim ring, then install the blades and any light kit. Balance the fan using the included balance kit if it wobbles.
Using the Pull Chains
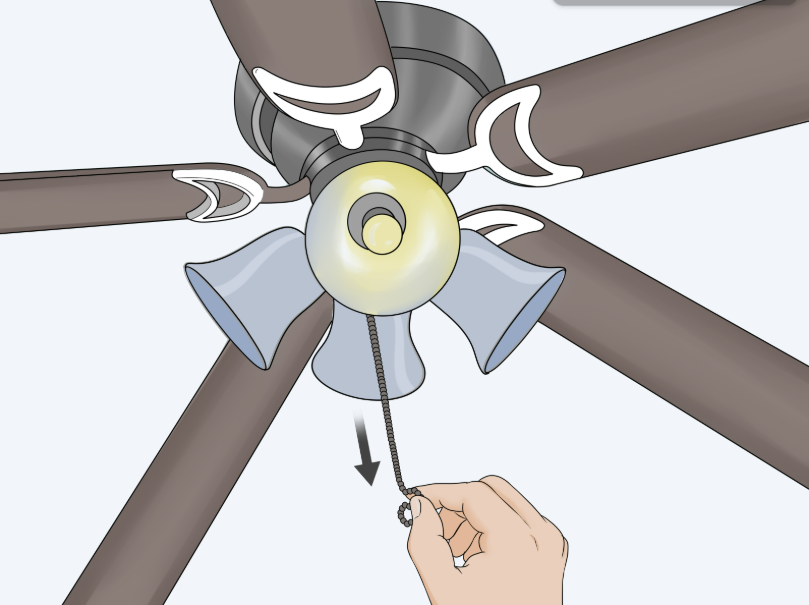
- Fan Speed Chain (longest, often marked with a fan icon): Pull once for High, again for Medium, again for Low, and once more for Off. The sequence repeats. The motor will hum slightly at different speeds; this is normal.
- Light Chain (shorter, marked with a lightbulb icon): Pull once to turn the light on, again to turn it off. (Only functional if a light kit is installed.)
- Reverse Switch: On the side of the motor housing (not a chain), slide the small switch to reverse blade direction. The fan must be turned off when you change the direction.
Changing Direction for Summer / Winter
- Summer (cooling): Slide the reverse switch so the blades spin counter‑clockwise. Air should blow downward. Stand directly under the fan; you should feel a breeze.
- Winter (recirculating): Slide the switch the opposite way so the blades spin clockwise. The fan pulls cool air up and pushes warm air off the ceiling down the walls. Run the fan on low speed so you don’t feel a draft.
Troubleshooting & Common Problems
| Problem | Likely Cause | What to Try |
|---|---|---|
| Fan won’t start | No power, or pull chain not in a speed setting | Check the circuit breaker and wall switch. Pull the speed chain until you hear a click (move it through all four settings). |
| Fan wobbles or shakes | Blades unbalanced, or mounting bracket loose | Tighten all blade screws and the mounting bracket. Use the included balance kit: clip the weight onto a blade, test, and move it until wobble is minimised, then attach the weight. |
| Fan is noisy (humming, clicking) | Loose screws, or pull chain touching the motor | Tighten all visible screws on the blades, blade brackets, and motor housing. Ensure the pull chains don’t touch the motor housing while the fan is running. A faint hum from the motor is normal. |
| Light (if installed) doesn’t work | Bulb burnt out, or wiring issue | Replace the bulb (use a bulb with the correct wattage; do not exceed the rating). Check the blue wire connection inside the switch housing. |
| Pull chain broke off | Wear and tear | Replacement pull chains are available at hardware stores. Unscrew the switch housing cover, disconnect the old chain, and attach the new one. The switch itself may also be replaced. |
| Fan not responding to pull chain | Chain disconnected internally, or switch fault | Turn off the power, remove the switch housing cover, and check if the chain is still attached to the switch. If the switch is broken, replace it with a compatible Hunter replacement switch. |
Frequently Asked Questions
- Can I add a remote control to this fan?
Yes, Hunter sells a universal ceiling fan remote control that replaces the pull chains. The receiver installs in the switch housing, and you control the fan with a handheld remote. - What is the maximum ceiling angle for installation?
The fan supports angled ceilings up to 34 degrees with the included downrod setup. For steeper angles, you’ll need a longer downrod (sold separately). - Does the Builder Deluxe come with a light kit?
No, the standard model does not. Some bundles include a light kit; check the packaging. The fan is light‑kit adaptable. - How do I clean the blades?
Use a soft, slightly damp cloth. Avoid abrasive cleaners, which can scratch the blade finish. Clean the blades once a month to prevent dust buildup. - Can I install the fan on a sloped ceiling without an adapter?
Yes, the included mounting system works on slopes up to 34 degrees. Ensure the outlet box is rated for the fan weight and the slope. - What is the warranty?
Hunter provides a limited lifetime motor warranty for the original owner. Other parts have a 1‑year warranty. Keep your receipt for warranty claims.
Tips
- Balance the fan correctly: Most wobble issues are caused by blades being at slightly different heights. Measure each blade tip from the ceiling and adjust the screws if one is lower.
- Use the fan year‑round: Run it counter‑clockwise in summer and clockwise in winter. In winter, run it on low speed to avoid a chilling draft while still distributing warm air.
- Lubrication: The WhisperWind motor is permanently lubricated and requires no oiling. Do not attempt to open the motor housing to add oil.
- Install the pull chain extensions: If you have high ceilings, attach the included extensions so you can reach the chains easily.
- Keep the reverse switch clean: Dust can accumulate on the switch over time. Occasionally slide it back and forth a few times to keep the contacts clean.
Safety Information
- Electrical: Always turn off the power at the circuit breaker before installing or adjusting the fan. The ceiling outlet box must be rated for fan support.
- Weight: The fan weighs approximately 18 lbs (8.2 kg). Ensure the outlet box can support at least 35 lbs (15.9 kg).
- Blades: After installation, check that all blade screws are tight. Loose blades can detach and cause injury or damage.
- Light bulbs: If you install a light kit, use bulbs that do not exceed the maximum wattage specified on the fixture. Overheating can cause a fire hazard.
- Children: Pull chains are a strangulation risk for young children. Keep chains out of reach, or use a remote control instead.
Related Manuals
If this guide was helpful, here are a few more popular manuals from productsmanuals.com that you might find useful:
- Samsung Galaxy Watch 7 Manual – Health Sensors, Galaxy AI & Battery Tips
Master ECG, body composition, sleep apnea detection, and more. -
Bose SoundLink Flex Manual – Product Overview, Features, Setup & Troubleshooting Guide
Pair, charge, and protect your ultra‑portable speaker.
- iPhone Air A3312 Manual – Apple Intelligence, Camera Control & Setup
Discover the thinnest iPhone with Apple Intelligence and Camera Control. - Dell Inspiron 15 3520 Manual – Laptop Setup, Upgrades & Troubleshooting
Upgrade RAM and SSD, and fix common performance issues. - HP DeskJet 3755 Manual – Wireless Printer Setup & Common Fixes
Print, scan, and solve paper jams with clear step‑by‑step instructions.
Browse all guides at productsmanuals.com .
Copyright 2026 productsmanuals.com All rights reserved. This Hunter Builder Deluxe 53090 manual is original content and may not be copied, republished, or redistributed without written permission. Hunter, Builder Deluxe, and the Hunter logo are trademarks of Hunter Fan Company. This guide is unofficial and not affiliated with Hunter.
