Why This Companion Is Created
Sony ships the PS VR2 with a headset, two Sense controllers, a USB‑C cable, earphones, and a small safety guide. The official manual covers the very basics, but many real‑world questions go unanswered: how to set up the play area correctly, what to do when the controllers won’t pair, how to enable cinematic mode, or how to fix a blurry image. Thousands of people search for a “PlayStation VR2 manual” every day. This companion answers all of that in clear, everyday language.
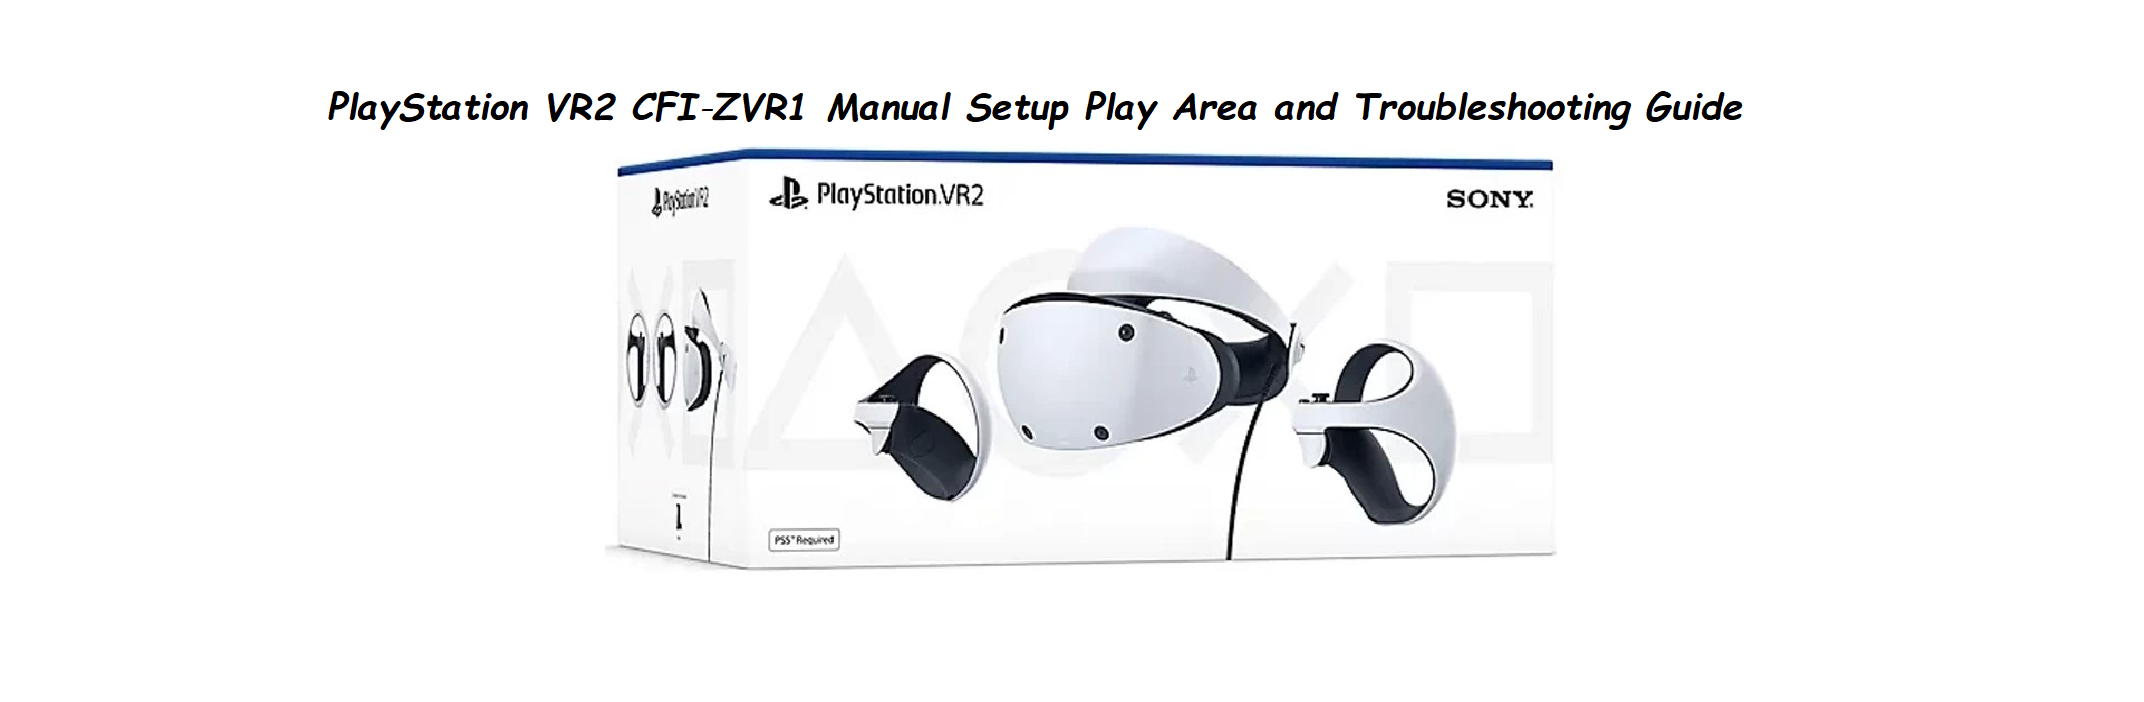
What’s Inside the Box

Your box includes:
- The PlayStation VR2 headset (model CFI‑ZVR1) with a built‑in 4‑metre USB‑C cable
- Two PlayStation VR2 Sense controllers (left and right)
- A pair of stereo earbuds (3.5 mm jack) with three sizes of ear tips
- A USB‑C charging cable for the controllers (plugs into your PS5)
- A Quick‑Start Guide and safety information
No camera or external tracking base is needed; the headset has four built‑in cameras for inside‑out tracking.
Physical Tour and Buttons

The headset has minimal physical controls:
- Lens adjustment dial (top‑left): Rotate to move the lenses closer together or farther apart to match your eye distance (IPD). A small on‑screen indicator appears when you turn it.
- Scope release button (bottom‑right): Press to slide the front section (the scope) away from your face, for easy putting on and taking off.
- Headband release button (back of the headband): Press and hold to loosen the headband, pull to tighten.
- Power and function button (under the scope): Press once to turn on, hold to mute mic, etc. The headset also has a small LED indicator.
- USB‑C cable: Permanently attached; plugs directly into the front USB‑C port of the PS5.
First‑Time Connection and Setup
[Image Placeholder 3: The PS5 console with the VR2 USB‑C cable plugged into the front port, and the TV screen showing the initial setup screen. Alt text: “PS VR2 connected to PS5”]
- Plug the VR2’s USB‑C cable into the front USB‑C port of your PS5. The console must be on.
- Put on the headset: press the scope release button, slide the scope outward, place the headband on your head, adjust the band for a snug but not tight fit, then slide the scope back in.
- Turn the lens adjustment dial until the image is sharp. You’ll see an on‑screen IPD (inter‑pupillary distance) adjustment guide; follow it.
- The first time, the PS5 will guide you through an initial setup: eye tracking calibration (you’ll follow a dot with your eyes), play area setup, and controller pairing.
Setting Up the Play Area
The VR2 can work in a standing or sitting position. You’ll be asked to set a play area:
- Room scale (standing): You’ll map a safe area of at least 2m x 2m free of obstacles. The headset cameras scan the room and you draw the boundary with the Sense controller. The play area appears as a virtual grid when you approach the edge.
- Sitting: Choose “Sitting” from the play area setup. The system will ask you to sit still and look around. It uses the cameras to establish a smaller, seated boundary.
- Temporary play area: If you’re sitting in a different spot, you can use a temporary play area that won’t be saved.
- You can recalibrate or adjust the play area at any time by pressing the PlayStation button on the Sense controller, then going to Settings > Accessories > PlayStation VR2 > Play Area.
Sense Controller Pairing and Charging
The two Sense controllers come pre‑paired, but if they lose connection:
- Press the PS button (small round button between the thumbsticks) on the left controller, then on the right, to turn them on and pair.
- They connect wirelessly to the PS5 via Bluetooth. No additional dongle required.
- To charge, plug each controller into the PS5 using the included USB‑C charging cable (or use a PS VR2 Sense Controller Charging Station, sold separately). They last about 4–5 hours of continuous play.
Key Features and Settings
Eye tracking: Calibrated during setup, it tracks your eye movement for foveated rendering (improving performance) and for some games that allow you to aim or select by looking.
See‑through view: Press the function button (small button under the scope) once to switch to see‑through mode, letting you see your real surroundings without removing the headset. Handy for finding your controller or drink.
Cinematic Mode: When you’re not playing a VR game, the PS5 displays the normal system menu or non‑VR content on a large virtual screen. You can adjust the screen size in Settings > Accessories > PlayStation VR2 > Cinematic Mode.
VR settings quick access: While wearing the headset, press the PlayStation button, then navigate to the VR card (the icon that looks like a headset) to quickly adjust brightness, boundary, and tracking.
Cleaning and Caring for the Headset
- Lenses: Use only a dry, soft microfiber cloth. Do not use water, alcohol, or lens cleaners. The lenses are easily scratched.
- Light shield and facial contact: The rubber light shield can be gently wiped with a damp cloth and mild soap. Let it air‑dry completely before use.
- Headband: Wipe with a dry cloth.
- Storage: Store the headset in a cool, dry place away from direct sunlight. Sunlight focused through the lenses can permanently damage the internal display.
Troubleshooting Common Issues
| Problem | Likely Cause | What to Try |
|---|---|---|
| Image is blurry | IPD not set or lenses dirty | Adjust the lens dial and clean lenses with a dry microfiber cloth. |
| Controllers won’t pair | Battery dead or sync lost | Charge controllers fully. Press the PS button on each to sync. |
| Headset won’t turn on | USB‑C not fully plugged | Check the USB‑C connection at the PS5. Try restarting the PS5. |
| Tracking is lost | Too dark or too bright | Play in a well‑lit room without direct sunlight hitting the headset cameras. |
| See‑through view is black‑and‑white | Normal | See‑through uses infrared cameras and appears in grayscale; this is normal. |
| Audio not working | Earphones not plugged | Check the 3.5 mm jack on the back of the headset, under the headband. |
How to Reset and Restart
Soft restart: Press and hold the power button on the headset for about 7 seconds until it turns off, then press again to turn on.
Factory reset (clear all settings): On your PS5, go to Settings > Accessories > PlayStation VR2 > Reset PlayStation VR2. This clears all custom calibrations and pairings.
Quick Reference Card
| Task | How |
|---|---|
| Turn on | Press power button on headset or press PS button on Sense controllers |
| Adjust IPD | Rotate the lens adjustment dial on top‑left |
| Activate see‑through | Press function button (small button under scope) |
| Set up play area | Settings > Accessories > PS VR2 > Play Area |
| Factory reset | Settings > Accessories > PS VR2 > Reset PlayStation VR2 |
Download the PS VR2 Cheat Sheet
A one‑page PDF with lens care, controller pairing, and troubleshooting tips. Print it and keep it with your headset.
Frequently Asked Questions
- Can I wear glasses inside the PS VR2?
Yes, the headset accommodates most glasses. Keep the scope extended enough that your glasses don’t touch the VR lenses. Sony sells prescription lens inserts separately. - Does the PS VR2 work with PS4?
No, it’s only compatible with the PS5. - How long is the USB‑C cable?
4.5 metres (about 15 feet), enough for most room‑scale play. - Can I use my own headphones?
Yes, any 3.5 mm wired headphones or earbuds can be plugged into the port on the back of the headset. Bluetooth audio directly to the headset is not supported; use a wireless headset with a USB dongle connected to the PS5. - Why does the screen sometimes go black for a moment?
This can happen during tracking loss or if the headset moves too quickly. It’s a safety feature to prevent motion sickness. Recalibrate your play area and ensure the room is evenly lit. - Do I need a TV to use PS VR2?
No, you can use the headset as the primary display. However, for initial setup, a TV or monitor helps. Once set up, you can navigate completely in VR. - How do I clean the controllers?
Wipe with a soft dry cloth. Do not use liquids. The analog sticks can be cleaned with compressed air. - The controllers vibrate or make a sound when I squeeze. Is that normal?
Yes, the Sense controllers have haptic feedback and adaptive triggers, just like the DualSense. They can simulate tension and vibration. - Can I share the headset with other people?
Yes, you can easily pass the headset. Each user may need to recalibrate eye tracking and adjust IPD for best results. - What is foveated rendering?
The headset tracks where you’re looking and renders that part of the image in full detail, while the periphery is slightly less detailed. This improves performance. It works automatically in supported games. - How do I prevent fogging?
Allow the headset to warm up for a minute before wearing. If it fogs, use a dry microfiber cloth on the lenses. Avoid sudden temperature changes. - Can I use an external storage drive while VR2 is plugged in?
Yes, the PS5 has a rear USB‑A port for an external drive, leaving the front USB‑C free for the VR2.
A Quick Note Before You Immerse
Your PS VR2 is a precision device. Treat the lenses like camera glass, keep the headset away from direct sunlight, and take regular breaks. With a properly set play area and a clean, clear view, you’re in for an incredible virtual experience.
Copyright Warning!
Copyright 2026 productsmanuals.com All rights reserved. This PlayStation VR2 CFI‑ZVR1 manual is original content and may not be copied, republished, or redistributed without written permission. PlayStation, PS VR2, and the PlayStation logo are trademarks of Sony Interactive Entertainment. This guide is unofficial and not affiliated with Sony.
[…] Looking for other Manuals? Click the link below:https://productsmanuals.com/playstation-vr2-cfi-zvr1-manual-setup-play-area-and-troubleshooting-guid… […]