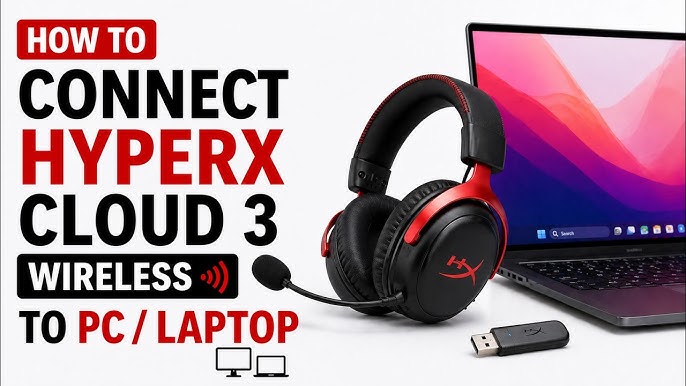
HyperX ships the Cloud III with the headset, a detachable microphone, a USB‑C to USB‑A cable, a 3.5 mm audio cable, and a Quick‑Start leaflet. The printed guide is short, and it doesn’t answer real‑world questions like “how do I enable DTS Headphone: X,” “why is my mic so quiet,” “can I use it on Xbox,” or “how do I clean the ear cushions.” Thousands of gamers search for a “HyperX Cloud III manual” every month. This companion gives you all of that in clear, practical language.
What’s Inside the Box
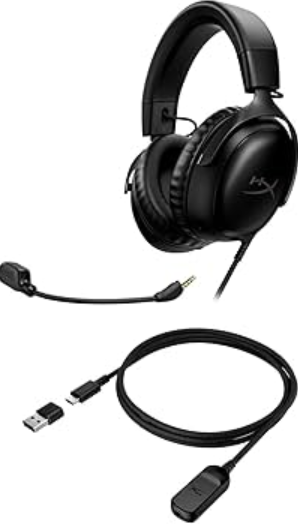
Your package includes:
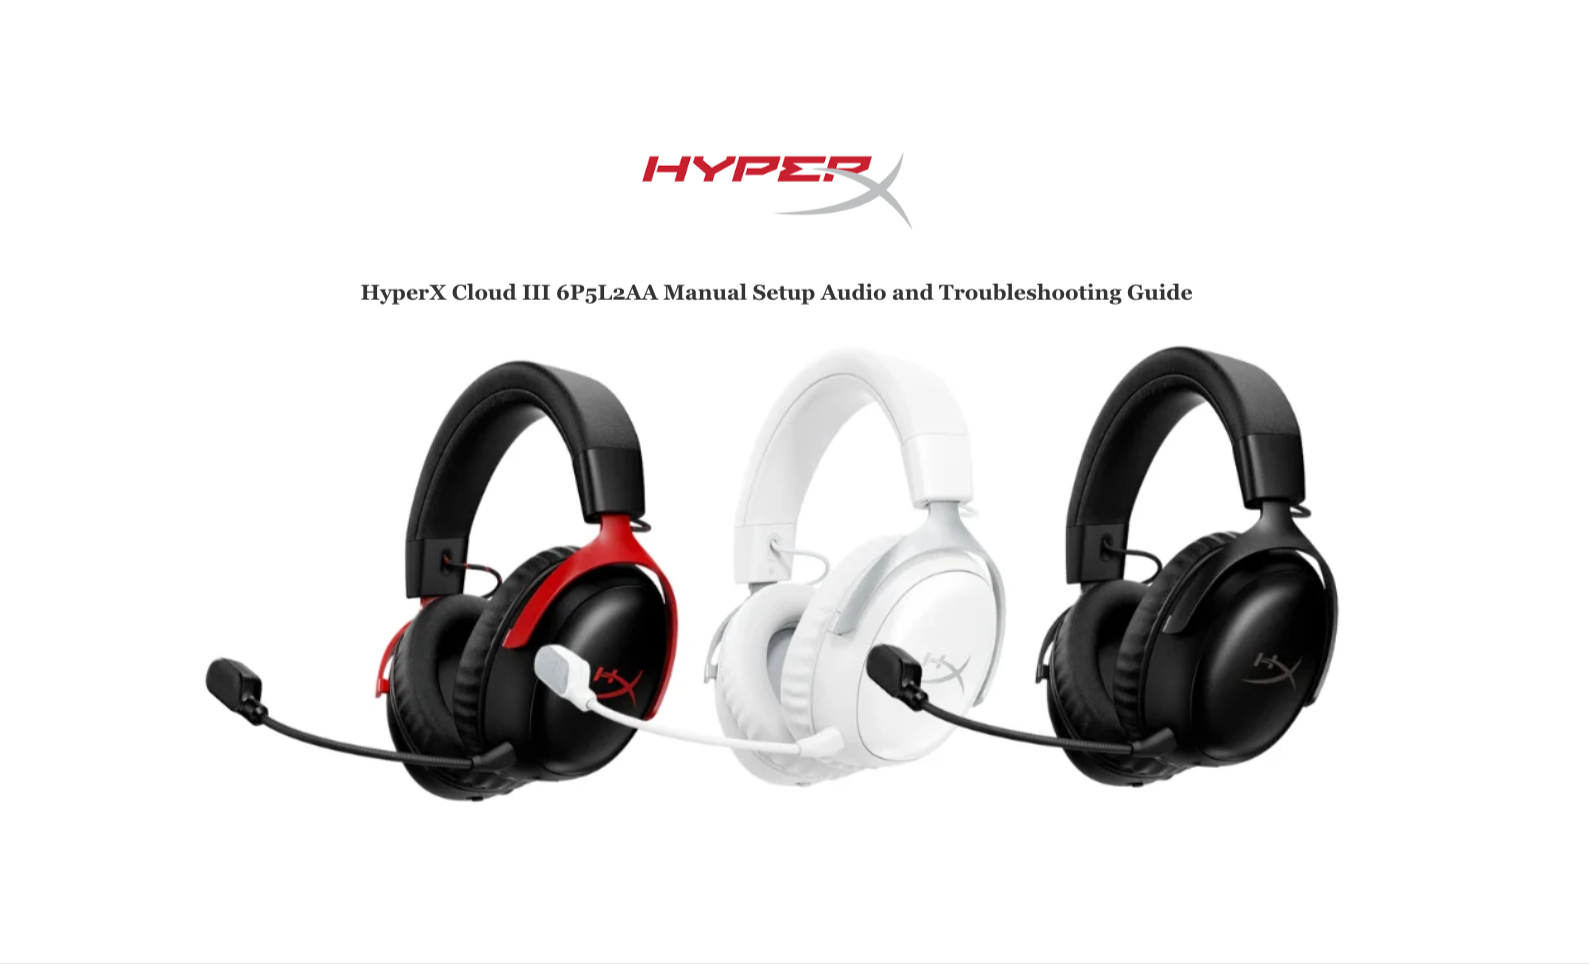
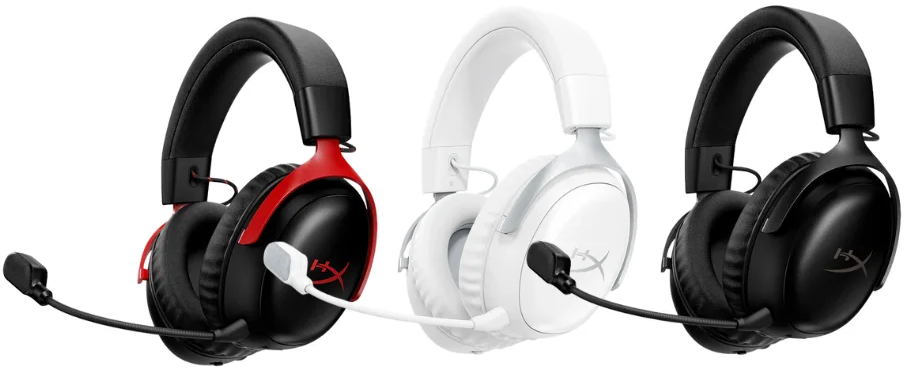
- The HyperX Cloud III wired gaming headset (model 6P5L2AA, black/red)
- A detachable noise‑cancelling microphone with foam windscreen
- A USB‑C to USB‑A adapter cable (for PC, PlayStation, Nintendo Switch)
- A 3.5 mm audio cable (for Xbox, mobile, and other devices)
- A Quick‑Start Guide and warranty card
No carrying pouch or USB‑C to USB‑C cable is included. The USB‑C cable is intended to connect the headset directly to a USB‑C port, or to the USB‑A adapter for traditional USB‑A ports.
Physical Tour and Controls
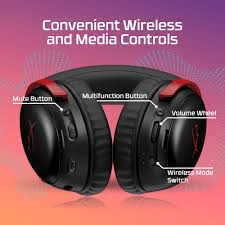
The headset has minimal on‑board controls for quick adjustments.
- Volume wheel (left ear cup): Turn to adjust headphone volume. Works independently of your device’s volume. For USB connection, it controls the internal digital volume; for 3.5 mm, it adjusts the analogue level.
- Microphone mute button (left ear cup): Press to mute or unmute the detachable mic. A small LED on the mic or near the button (depending on model) glows red when muted.
- USB‑C port (left ear cup): Used to connect the USB cable. This port provides digital audio, microphone input, and power for the DTS processing.
- 3.5 mm port (left ear cup, sometimes shared): For the analogue connection. The headset can be used with any 3.5 mm device.
- Microphone jack (bottom of left ear cup): Plug the included mic in here. It clicks firmly into place. Rotate the mic so it points towards your mouth; the flexible arm lets you bend it to the ideal distance.
Setting Up for Different Devices
The Cloud III can be used with nearly any device thanks to its dual‑mode connection.
- PC (Windows/macOS): Connect via USB using the USB‑C to USB‑A adapter. The USB connection provides the best audio quality and enables DTS Headphone:X spatial audio. After plugging in, select “HyperX Cloud III” as the default playback and recording device in your sound settings.
- PlayStation 5 / PlayStation 4: Connect via USB to the console’s USB‑A port. The console will recognize the headset automatically. To adjust settings, go to Settings > Sound > Audio Output and select the Cloud III. You can also use the 3.5 mm cable plugged into the DualSense/DualShock controller, but DTS will not be available.
- Xbox Series X|S / Xbox One: Use the 3.5 mm cable. Plug it directly into the Xbox controller’s 3.5 mm jack. USB is not supported on Xbox. Adjust audio balance and mic monitoring in the Xbox guide under Audio & music.
- Nintendo Switch (docked): Connect via USB to the dock. For handheld mode, plug the 3.5 mm cable into the console’s headphone jack.
- Mobile / tablet: Use the 3.5 mm cable (or a USB‑C to USB‑C cable if your phone supports audio over USB‑C).
Installing HyperX NGENUITY Software
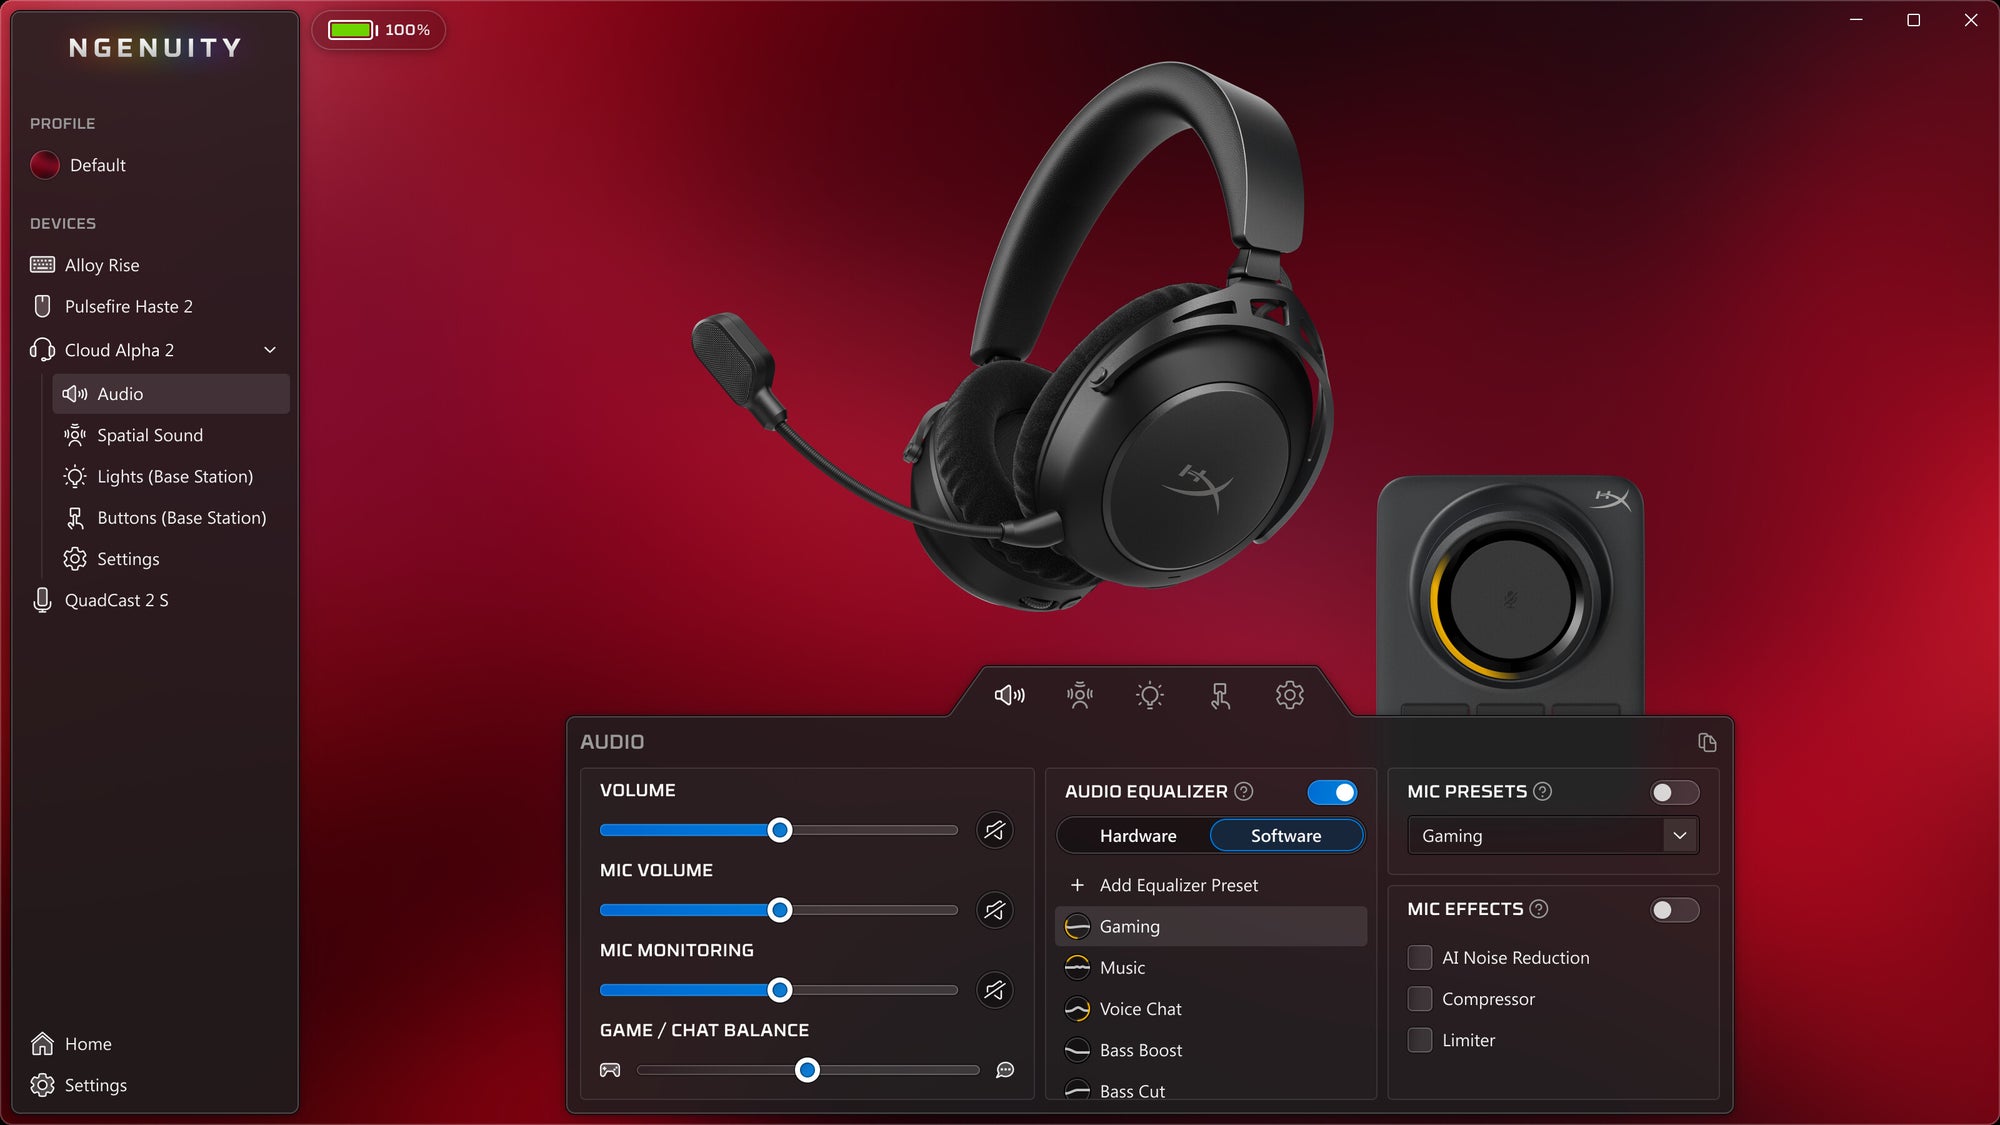
For the best experience on PC, download HyperX NGENUITY from the Microsoft Store. The Cloud III is automatically detected when connected via USB.
- Equaliser (EQ): Choose from presets (Flat, Bass Boost, Clarity, etc.) or create a custom 10‑band EQ. The settings are saved to the headset’s internal memory, so they work even when plugged into another PC or console via USB (the 3.5 mm mode bypasses all processing).
- DTS Headphone:X: Toggle spatial audio on or off. DTS creates a virtual surround soundstage, making it easier to pinpoint footsteps and environmental sounds in games. It only works over USB.
- Microphone settings: Adjust mic volume and sidetone (how much of your own voice you hear). Sidetone is helpful to avoid shouting. You can also enable noise cancellation and adjust the mic monitoring level.
The Cloud III works perfectly without NGENUITY on other platforms, but you won’t be able to adjust the EQ or DTS.
Comfort and Physical Adjustments
- Headband: The floating headband with HyperX memory foam automatically adjusts to your head shape. No clicking or notches; just stretch and place. The tension is balanced to reduce pressure.
- Ear cushions: Made of leatherette and memory foam. They are thick, breathable, and isolate external noise well. To remove, gently pull the pad away from the ear cup; it snaps off (replacement pads are sold separately).
- Weight: About 320 g with the microphone attached. Light enough for long gaming sessions.
Cleaning and Maintenance
- Ear cushions and headband: Wipe with a damp cloth and mild soap. Do not submerge. Let them air‑dry completely before use.
- Microphone windscreen: The foam cover can be removed by gently pulling it off. Wash with warm water and mild soap, rinse, and let dry.
- Cable: Avoid sharp bends. Store the headset with the cable loosely coiled, not tightly wrapped.
Troubleshooting Common Issues
| Problem | Likely Cause | What to Try |
|---|---|---|
| No sound | Wrong output selected | On PC, ensure “HyperX Cloud III” is the default playback device. On console, check the audio output settings. |
| Microphone too quiet | Mic volume low or too far from mouth | In NGENUITY, increase mic volume. Bend the mic closer (about 1–2 cm from your lips). Check the mute button. |
| DTS not working | Headset not connected via USB | DTS only works over USB. Verify the USB connection. In NGENUITY, ensure DTS is toggled on. |
| Audio crackling or static | Interference or loose cable | Try a different USB port. Ensure the USB‑C connector is fully inserted into the headset. Test with the 3.5 mm cable to isolate the issue. |
| Headset not recognized by PC | Driver issue | Try a different USB port. Restart your PC. In Device Manager, look for unknown devices; if none, the headset may need replacement. |
| Ear cushions peeling | Normal wear after extensive use | Replacement ear cushions are available directly from HyperX. Carefully remove the old ones and snap on new ones. |
How to Reset the Headset
There is no dedicated reset button, but a full power‑cycle resets the internal electronics:
- Unplug the USB cable from both the headset and the PC.
- Disconnect the 3.5 mm cable if attached.
- Wait 10 seconds.
- Reconnect the USB cable to the headset first, then to the PC. The headset will re‑initialize and reload its internal profile.
If the headset still misbehaves, test it with the 3.5 mm cable on a different device. If the problem follows the headset, contact HyperX.
Quick Reference Card
| Task | How |
|---|---|
| Mute mic | Press the mute button on the left ear cup (LED glows red) |
| Adjust volume | Turn the volume wheel on the left ear cup |
| Enable DTS | NGENUITY > DTS toggle (USB mode only) |
| Save custom EQ | NGENUITY > EQ > adjust > click Save |
| Use with Xbox | 3.5 mm cable into controller |
| Soft reset | Unplug all cables, wait 10 seconds, reconnect USB |
Download the HyperX Cloud III Cheat Sheet
A one‑page PDF with connection diagrams, EQ tips, and troubleshooting. Print it and keep it with your gear.
“HyperX Cloud III Quick Guide (PDF)”
Official HyperX Support and Manuals
For warranty, replacement parts, and the official PDF manual, visit: https://support.hyperx.com
Frequently Asked Questions
- Is the Cloud III wireless?
No, this is the wired model. HyperX also sells a Cloud III Wireless version (separate model). - Can I use it on a phone without a headphone jack?
Yes, use a USB‑C to 3.5 mm adapter or a USB‑C to USB‑C cable if your phone supports audio over USB‑C. Check your phone’s compatibility. - Does the microphone work on Xbox?
Yes, when using the 3.5 mm cable plugged into the Xbox controller. USB is not supported on Xbox. - How do I turn off the red LED on the microphone?
The red LED only lights when the mic is muted. Unmute to turn it off. There’s no always‑on lighting. - Can I use the Cloud III with Nintendo Switch in handheld mode?
Yes, with the 3.5 mm cable plugged into the console’s headphone jack, or via USB‑C on the bottom of the Switch (you may need a USB‑C to USB‑C cable). - What is DTS Headphone :X?
It’s a spatial audio technology that creates virtual surround sound through stereo headphones. It improves directional accuracy in games. Works only via USB on PC. - How do I clean the ear cushions?
Wipe with a damp cloth and mild soap. Do not soak. Air dry completely. Replacements are available if they become worn. - Can I use the headset while charging my phone?
No, the headset does not have a pass‑through charging feature. It’s purely for audio. - Why is my side tone not working?
Sidetone is enabled and adjusted in NGENUITY. It only works over USB on PC. It does not function over 3.5 mm. - Is the USB‑C cable durable?
Yes, it’s braided and reinforced. Avoid sharp kinks, and it will last. - Can I use it with a DAC or amplifier?
Yes, via the 3.5 mm cable. The 32Ω impedance makes it easy to drive. USB mode bypasses the need for an external DAC. - What should I do if one ear cup stops working?
Test with both the USB and 3.5 mm connections. If the issue persists, the driver may be faulty. Check the balance settings in Windows. If it’s only one connection, the cable may be damaged.
A Quick Note Before You Queue
The HyperX Cloud III is built for comfort over marathon sessions. Keep the volume at a safe level, wipe the ear cushions after long use, and let your headset air out. With a little care, it will deliver crystal‑clear audio for every clutch moment.
Copyright Warning!
Copyright 2026 [Your Name or Site Name]. All rights reserved. This HyperX Cloud III 6P5L2AA manual is original content and may not be copied, republished, or redistributed without written permission. HyperX, Cloud, and the HyperX logo are trademarks of HP Inc. This guide is unofficial and not affiliated with HyperX or HP.