How to Wire a Car from Scratch – Complete DIY Guide
Introduction
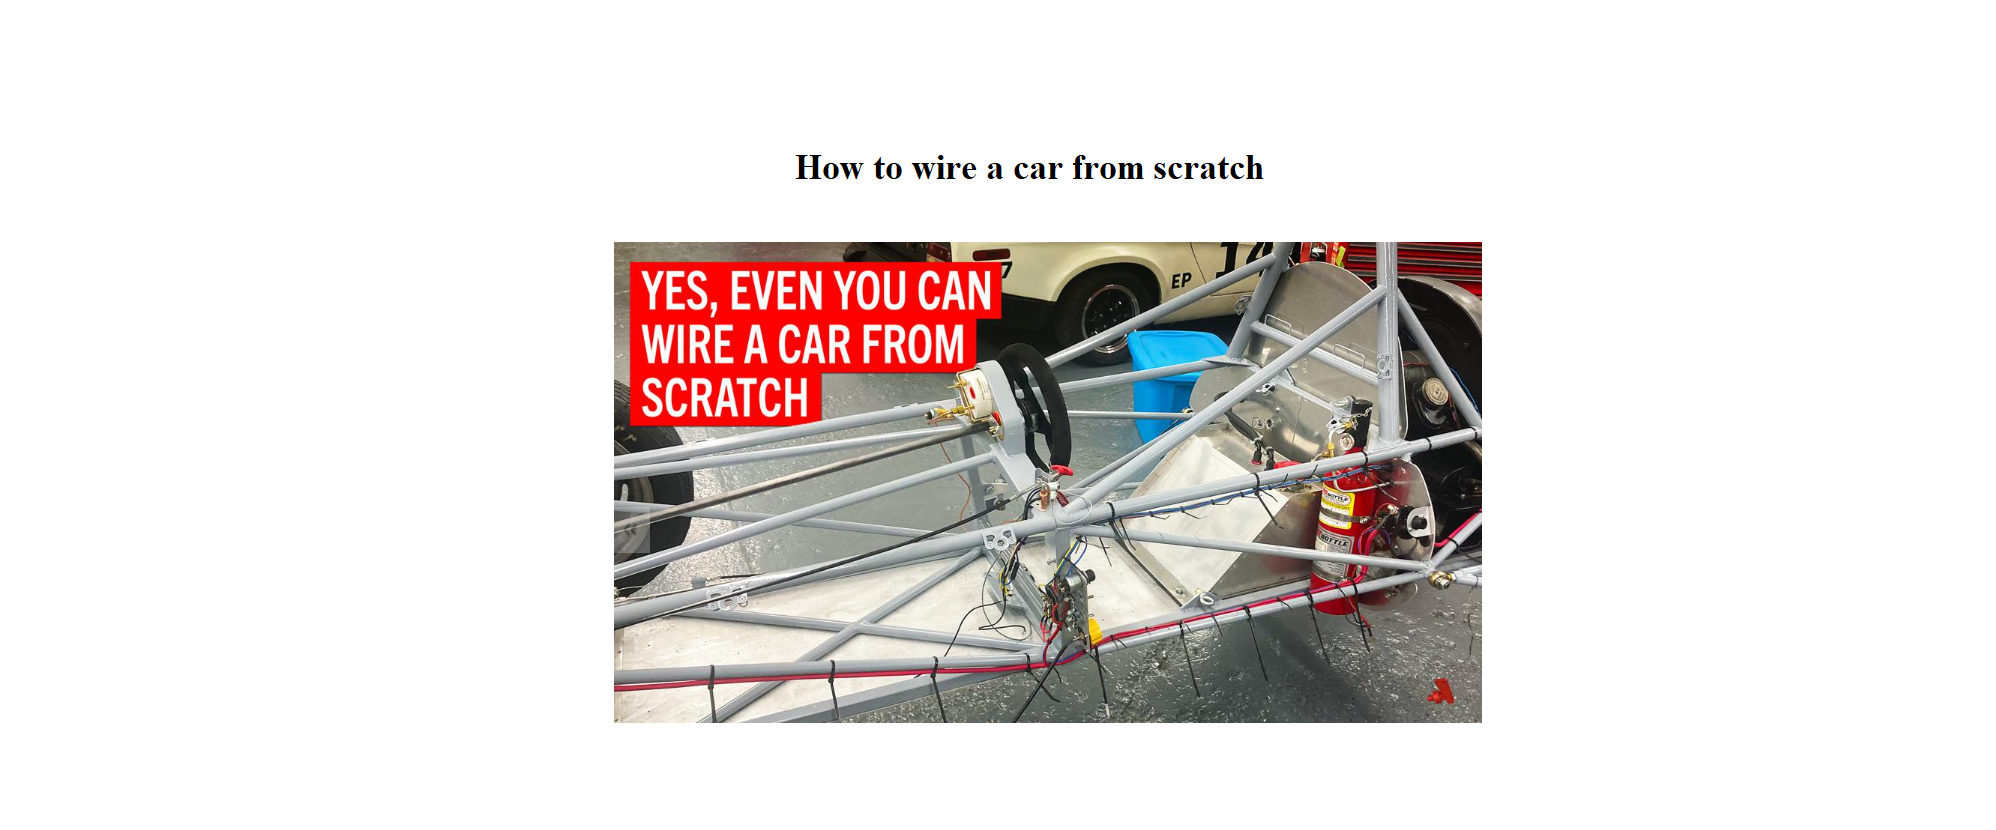
What do you do when you have to wire a car from scratch? Panic? Not so fast. Some methodical work plus proven techniques can easily deliver success. Yes, you can do this.
Our latest project, a vintage Formula Vee single-seater, needed a new harness, and premade replacements aren’t available. We had two choices: Buy a universal kit from companies like Ron Francis Wiring and Painless Performance or make up a harness from scratch after sourcing the necessary wiring, switches and terminals.
The easy button is usually to buy one of those premade setups, and we used a Ron Francis kit on our Mustang vintage racer. For this Formula Vee, though, we wanted to install an era-correct harness and decided that scratch-built was the better option.
Kit vs. Scratch-Built
Kit vs. Scratch-Built: Which Approach Is Right for You?
Generally, the kit approach saves a little time and money, while the scratch-build option offers the chance to get every detail as desired. For the Formula Vee, we would have spent about 5 to 8 hours and, depending on the manufacturer, $100 to $400 installing a kit. To scratch-build ours, we spent about $150 on wiring and components and then invested about 15 hours planning and building the harness.
| Approach | Time Investment | Cost | Best For |
|---|---|---|---|
| Universal Kit | 5-8 hours | $100-$400 | Quick installation, standard builds |
| Scratch-Built | 15+ hours | ~$150 | Custom builds, era-correct restorations |
Since Formula Vees were constructed from parted-out VW Beetles, many of them used stripped-down and modified factory wiring harnesses. We could have found a decent used harness or purchased a reproduction to cut down, but we decided to start by determining which circuits we’d need and then sourcing new wiring in appropriate color codes and sizes for our harness.
Wiring Instructions
Step 1: Find the Right Wiring Diagram

We started rewiring our Formula Vee race car by pulling out our old-school VW manual to find a wiring diagram for a 1970 VW Beetle. There are images of these diagrams all over the internet as well, but if you go that route, make sure it’s from a reliable source since many are not correct.
We chose 1970 as our benchmark year, found the wiring diagram in our factory manual, and built a spreadsheet for the needed wires. The diagram not only gave us our color coding but the sizes of all the wires as well. For example, the starter switch uses a 12-gauge red/black wire, and the coil is fed by a 16-gauge blue wire.
While our spreadsheet offers good documentation, we can also use a 1970 Beetle wiring diagram and just ignore the unused circuits. To us, that’s easier than drawing up a new diagram (or not having one at all).
Step 2: Plan Your Harness with a Spreadsheet

We built this spreadsheet to plan our harness, noting the color codes, sizes and routing of required wires. We also put part numbers of our switches and other components in the spreadsheet so we could get replacements when needed.
What to Include in Your Wiring Spreadsheet:
- Wire color codes (following factory standards)
- Wire gauge sizes (12-gauge, 16-gauge, etc.)
- Circuit descriptions (starter, ignition, lights, etc.)
- Routing paths through the chassis
- Component part numbers for easy replacement
Step 3: Source the Right Materials

We estimated the lengths of each wire needed and ordered them from Rhode Island Wiring Service. Since we’re compulsive with our wiring, we wanted to use correct German-style terminals, which we sourced from Goodspeed Motoring.

We ordered our wire from Rhode Island Wiring Service and our German-style terminals from Goodspeed Motoring.
Next, we sourced our switches, fuse box and other ancillaries. Most of those came from our local NAPA, as we wanted readily available switches in case we’d need them at the track. We of course bought an extra of each item to keep in our spares kit. We also needed a few specialty items, like the master switch and the rain light, and those came from Pegasus Auto Racing Supplies.
Step 4: Install Major Components First

- We then installed our major components in the chassis, including the battery, voltage regulator, switch panel and more.
- We started running wire with the largest one first. In this case, it’s the 2-gauge master battery wire.

- We then started roughing the wires to and from the major components, starting at the starter in back.
- By the time we got to the middle of the car, we had quite a mess on our hands.
- So we started to neaten up the rough wiring in the back of the car and routed it through its final locations.


- We then repeated the process for the midsection of the car by roughing it out, neatening it and routing it.


Step 5: The “Figure 8” Wiring Technique


There’s a lot going on in this picture as we performed one more neatening process. First, we were extremely fussy and made sure that the wires are routed parallel to each other in the harness and don’t cross each other. Note that we didn’t tape the harness or use other wraps unless harsh conditions would dictate extra protection. Zip ties keep the harness bundled neatly. Not only is this approach attractive, but it makes future diagnostics and repairs significantly easier.
We kept routing and neatening parts of the harness until it was done. Then we cut off the tails of the zip ties. We’re very careful to cut the tails with flush-cut snips so that we leave no sharp edges. Sharp zip tie edges can cause cuts severe enough to need stitches.

The “Figure 8” Method Explained


One more note about zip ties: We use them to bundle the harness or to secure the harness to the chassis, but not both. That way, if we need to remove the harness, we just cut the securing zip ties, allowing the harness to come out as a whole. A friend who worked on a Le Mans team taught us this “figure 8” method to secure the harness to the chassis: It puts a little space between the wires and the chassis, facilitating any future service work. It takes two zip ties to do this: a large one around the harness and chassis tube plus a small one between the harness and chassis tube.
Step 6: Final Assembly and Testing
Groundwork finished, actually building the harness isn’t that difficult. Again, it’s a matter of just following proven procedures.
By following this playbook, we ended up with a harness that’s neat, easy to diagnose and extremely reliable for many races to come.
Frequently Asked Questions
- Q1: How long does it take to wire a car from scratch?
- A: Depending on the complexity of your vehicle and your experience level, expect to spend 15-20 hours on planning and building the harness. A universal kit can reduce this to 5-8 hours.
- Q2: What tools do I need to wire a car from scratch?
- A: Essential tools include wire strippers, crimpers, soldering equipment, multimeter, flush-cut snips, zip ties, and a wiring diagram for your specific vehicle model.
- Q3: How much does it cost to wire a car from scratch?
- A: For a typical project, budget approximately $150 for wiring and components. Universal kits range from $100 to $400 depending on the manufacturer.
- Q4: Is it safe to wire a car yourself?
- A: Yes, if you follow proper procedures and use correct gauge wiring, quality terminals, and appropriate fusing. Always disconnect the battery before working on electrical systems.
- Q5: How do I choose the right wire gauge for my car?
- A: Consult your vehicle’s wiring diagram. The factory manual specifies the correct gauge for each circuit. For example, starter switches typically use 12-gauge wire, while the coil uses 16-gauge wire.
- Q6: What’s the best way to organize a wiring harness?
- A: Route wires parallel to each other in the harness without crossing. Use zip ties to bundle the harness, and secure it to the chassis using the “figure 8” method for easy future service access.
Conclusion
Wiring a car from scratch may seem daunting, but with methodical planning, the right materials, and proven techniques, anyone can build a reliable wiring harness. Whether you choose a universal kit or go the scratch-built route, the key is careful preparation and attention to detail.
By following this guide, you’ll end up with a harness that’s neat, easy to diagnose, and extremely reliable for many miles to come. We’ll cover more details and many more techniques in the next installment of this series.