Growatt SPF 5000 ES Inverter Manual Setup Error Codes
Introduction
Why This Companion Is Needed
Growatt ships the SPF 5000 ES with a quick‑start poster and a CD‑based PDF that covers multiple models and assumes you already understand solar terminology. There’s no printed guide that plainly explains what the LCD display icons mean, how to set up a lithium battery communication, what each error code indicates, or how to perform a factory reset. Every day, installers and homeowners search for a “Growatt SPF 5000 ES manual” to get straightforward answers.
This companion fills that gap. It’s written in clear, practical language based on real‑world installation and troubleshooting. Whether you’ve just unboxed the inverter or you’re staring at a flashing error light, you’ll find the information you need here.
What Comes in the Box
Your box should contain:
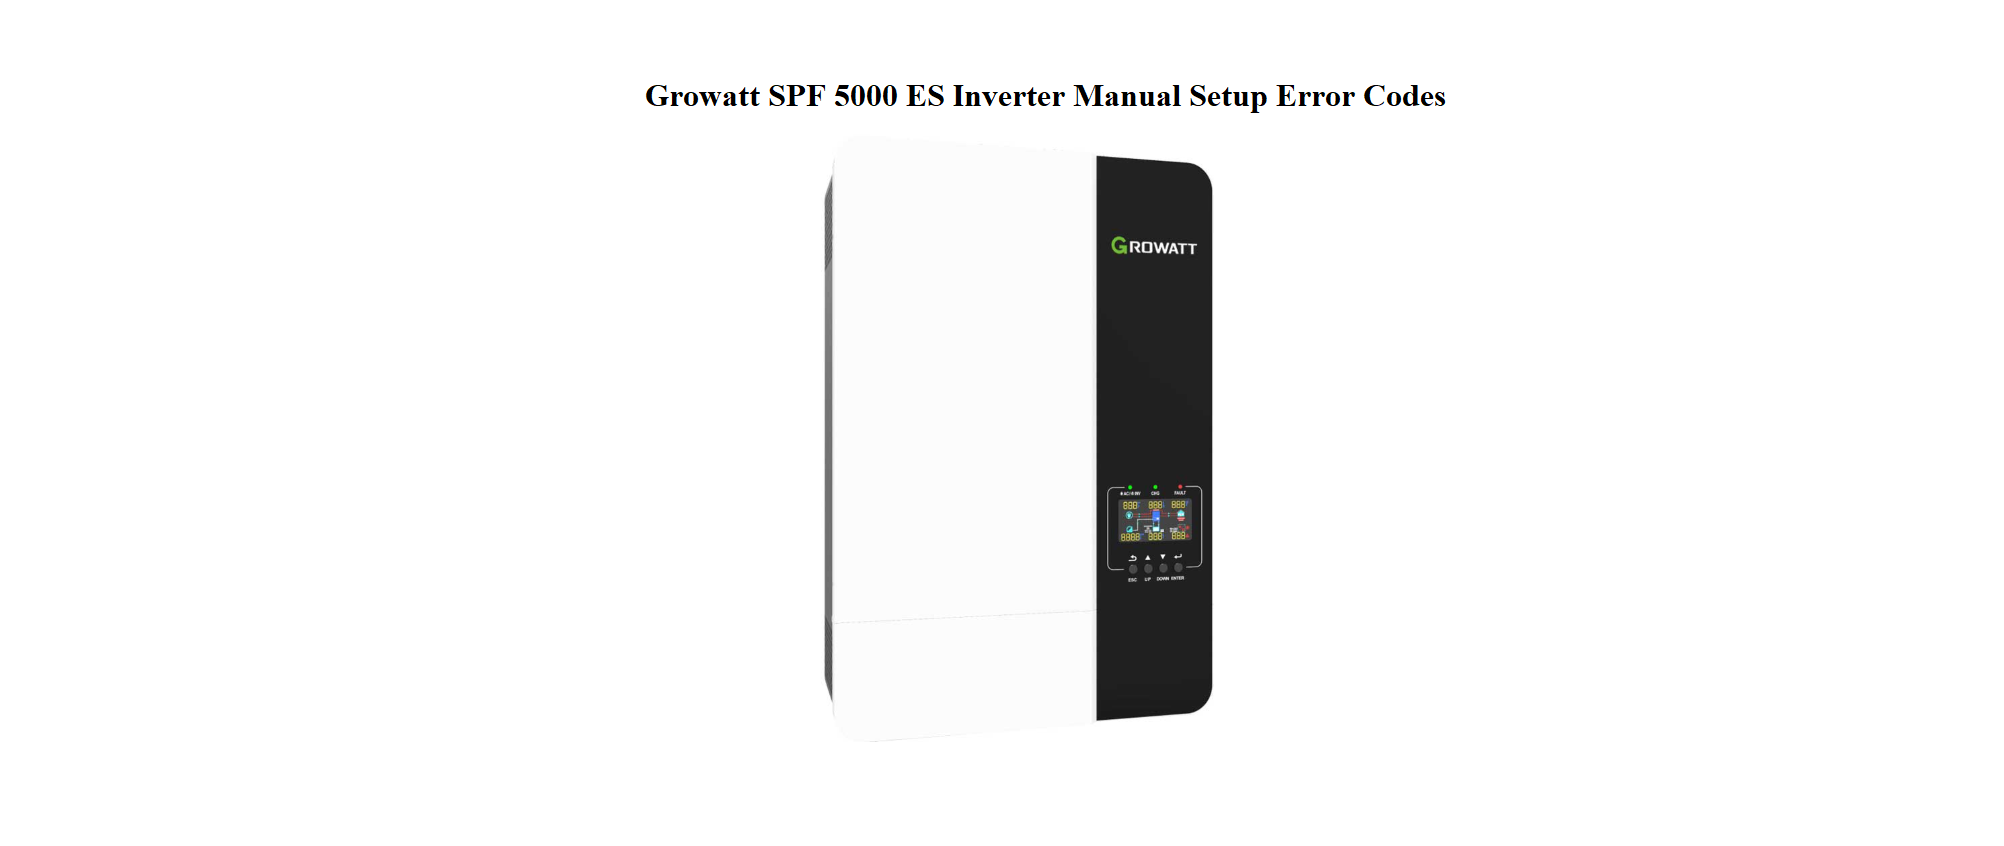
- The Growatt SPF 5000 ES inverter unit (5kW, 48V)
- A wall‑mounting bracket
- A communication cable (RJ45‑style for BMS)
- A battery temperature sensor (small black probe with thin cable)
- A software CD and a quick‑start leaflet
- A warranty card
No batteries, solar panels, or AC cables are included. The unit must be installed by a qualified electrician according to local wiring regulations.
Physical Layout and Connections

The bottom of the inverter has clearly marked terminal blocks. All wiring must be done with the inverter completely powered off (battery and solar disconnected).
- AC Input: Connects to the grid or a generator. Use the L (live), N (neutral), and Earth terminals.
- AC Output: Connects to your essential loads (lights, fridge, etc.). Again L, N, Earth.
- PV Input: Two positive and two negative terminals for solar panel strings. The SPF 5000 ES has a maximum PV open‑circuit voltage of 450V. Do not exceed this.
- Battery terminals: Thick red (+) and black (–) lugs for the 48V battery bank. Tighten them firmly.
- Communication ports: The RJ45‑style sockets labelled BMS (for lithium battery communication), RS‑485, and USB (for firmware updates).
- Battery temperature sensor: Plug into the dedicated port if using lead‑acid batteries.
Understanding the LCD Display and Buttons
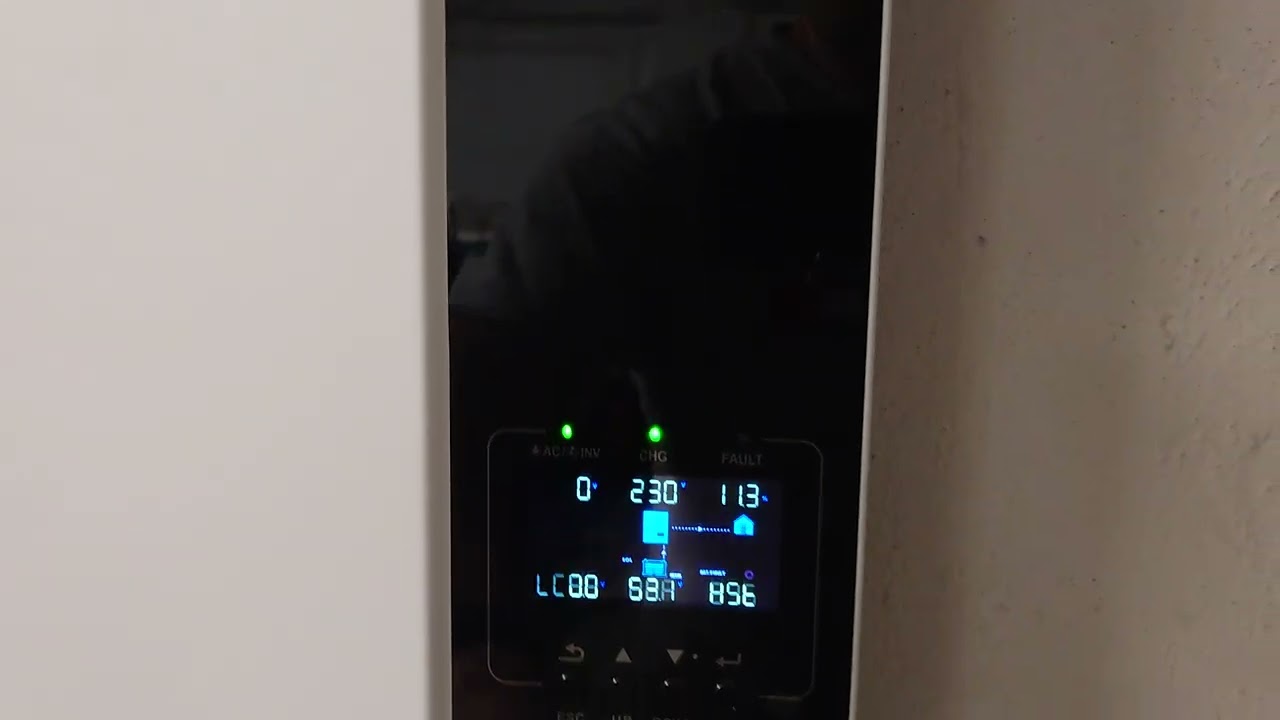
The front panel has four buttons under the screen: ESC, UP, DOWN, and ENTER.
- Home screen: Shows input voltage, output voltage, battery voltage, load percentage, and the current operating mode (Line, Battery, or Standby).
- Navigating menus: Press ENTER to enter the settings menu. Use UP and DOWN to scroll. Press ENTER to select a parameter, adjust with UP/DOWN, and press ENTER again to save. Press ESC to go back.
- Mode icons: A sun symbol means solar charging is active. A house symbol indicates AC output is on. A battery symbol shows the battery state.
Key Settings for First‑Time Configuration
Before turning on the inverter, you should set up the battery type and the output voltage/frequency to match your region.
- Apply battery power first (the inverter will light up). Do not switch on the solar or AC input yet.
- Press ENTER to enter the menu. Scroll to Setting (the gear icon) and press ENTER.
- The password is usually 0001 (unless changed). Use UP/DOWN to set each digit and ENTER to confirm.
- Navigate to Battery Type. Choose User if you are manually setting lead‑acid parameters, or LI if you are using a compatible lithium battery with BMS communication.
- For LI batteries, select the correct battery brand from the protocol list (e.g., Pylontech, Dyness, etc.). The inverter will automatically read the battery’s charging limits.
- Set Output Voltage to 230V (or 220/240V depending on your country). Set Output Frequency to 50Hz (or 60Hz).
- Adjust Max Charging Current to match your battery’s recommended rating (e.g., 100A for a 5kW inverter).
- Set Solar Priority or Grid Priority under Work Mode. In areas with frequent grid outages, “Solar first” (SBU) is common.
Once settings are saved, you can connect the PV input and AC input.
Error Codes and Fault Meanings
When a fault occurs, the red FAULT light comes on and an error code appears on the LCD. Most errors can be resolved on site.
| Code | Meaning | What to Do |
|---|---|---|
| 01 | Over temperature | Check that the inverter’s fan is spinning and the vents are not blocked. Move the inverter to a cooler area or reduce the load. |
| 02 | Overload | The connected load exceeds the inverter’s rating (5000VA). Switch off some appliances and restart the inverter. |
| 03 | Battery voltage too high | The charging source (solar or grid) is pushing the battery voltage too high. Check the battery settings and ensure the BMS is communicating correctly. |
| 04 | Battery voltage too low | The battery is deeply discharged. The inverter will shut down to protect the battery. Charge the battery with an external charger or wait for solar to bring it back up. |
| 05 | Output short circuit | Disconnect all loads and restart the inverter. Check the wiring of your AC output for a direct short. |
| 06 | PV input over‑voltage | The solar panel string voltage exceeds 450V. Immediately disconnect the PV input and reconfigure the panels. |
| 07 | Bus voltage fault | An internal DC bus voltage error. Power cycle the inverter. If the error persists, contact Growatt support. |
| 08 | Fan failure | One or both cooling fans have failed. Replace the fan unit (available as a spare part). |
| 11 | Battery communication fault | The inverter cannot communicate with the lithium BMS. Check the communication cable and protocol setting. |
| 19 | Battery disconnected | The battery breaker has tripped or the battery cable is loose. Tighten the connections and reset the breaker. |
Clearing a fault: After fixing the cause, press and hold the ESC button for 3 seconds. The red fault light should turn off and the inverter will restart.
Routine Maintenance and Checks
- Monthly: Check all terminal screws for tightness (power down first). Clean the fan grilles with a soft brush or vacuum to prevent overheating.
- Every 6 months: Open the front cover (after disconnecting all power) and blow out any dust with compressed air. Ensure no insects have nested inside.
- Annual: Verify the battery water levels (if using flooded lead‑acid). Check the solar array for shading or damaged panels.
How to Restart and Factory Reset
Soft restart: Press and hold the ESC button for 3 seconds. The inverter will switch off. Press and hold ENTER to turn it back on.
Complete power cycle: Switch off the AC input breaker, then the solar DC isolator, and finally the battery breaker. Wait 2 minutes. Turn on in reverse order: battery first, solar second, AC last.
Factory reset (all settings to default):
- Enter the settings menu (password 0001).
- Navigate to Restore to Default and press ENTER.
- Confirm with ENTER. The inverter will beep and restart.
- After a factory reset, you must reconfigure the battery type and output settings before reconnecting loads.
Quick Reference Card
| Task | How |
|---|---|
| Enter settings menu | Press ENTER, password 0001 |
| Clear fault | Hold ESC for 3 seconds after fixing the cause |
| Start inverter | Hold ENTER |
| Shut down | Hold ESC for 3 seconds |
| Factory reset | Settings > Restore to Default > ENTER |
| Check solar production | Home screen PV icon shows wattage |
Download the Growatt SPF 5000 ES Cheat Sheet
A one‑page PDF with error codes, key settings shortcuts, and wiring reminders. Print it and keep it next to the inverter for quick reference.
“Growatt SPF 5000 ES Quick Guide (PDF)”
Official Growatt Support and Manuals
For warranty, firmware updates, and the original PDF manual, visit: https://www.growatt.com/support
FAQs
Can the SPF 5000 ES work without batteries?
Yes. It can operate in “Line mode” without a battery connected, but it will not provide backup power during a grid outage. The battery is required for off‑grid use.
What is the maximum solar panel capacity I can connect?
The inverter’s built‑in MPPT charge controller can handle up to 4500W of solar input at a maximum voltage of 450V DC. Do not exceed 450V open‑circuit voltage, or the inverter may be damaged.
How do I connect the inverter to a lithium battery?
Use the provided RJ45 communication cable. Connect one end to the BMS port on the inverter and the other to the battery’s RS‑485 or CAN port. Set the battery type to LI and choose the matching protocol from the menu.
Why does the inverter beep continuously?
Continuous beeping usually indicates a fault (check the error code) or that the battery is low. If the battery voltage is fine and no error code shows, check the overload setting.
Can I parallel two SPF 5000 ES inverters?
Yes, up to 6 units can be paralleled for single‑phase output using the parallel communication cables and proper configuration. The parallel setting is under Setting > Parallel.
What should I do if the inverter shows error 04 (battery voltage low) and won’t start?
If the battery is deeply discharged, the inverter will not turn on until it receives a minimum voltage. Use a separate battery charger to bring the battery above the low‑voltage threshold, or wait for sufficient solar input to begin charging.
A Final Note for the System Owner
This guide was written to demystify your Growatt inverter and help you get the most from your solar investment. May your batteries always charge fully, the sun always hit your panels at the perfect angle, and every power cut be met with a silent, seamless switchover. If a neighbour installs the same inverter and looks puzzled at the flashing error light, send them this page — it might just restore their power.
Copyright warning!
Copyright 2026 productsmanuals.com All rights reserved. This Growatt SPF 5000 ES inverter manual is original content and may not be copied, republished, or redistributed without written permission. Growatt and the Growatt logo are trademarks of Growatt New Energy. This guide is unofficial and not affiliated with Growatt.